
Add a user to an Amazon Cognito group using AWS Lambda

AWS Lambda is one of the first services that cloud developers learn about. It is a powerful service that allows you to run code without provisioning or managing servers. It's often coupled with API Gateway to create a REST API, or with AWS AppSync to perform custom logic. Personally, I've always felt this messes up the mental model of what AWS Lambda is for: A function that is called when an event occurs.
Sure, that can be an API, but removing it from the API mental model, opens up the door to other use cases.
To demonstrate this, in this post I will show you how to add a user to an Amazon Cognito group with a post-confirmation trigger.
The Use Case
Let's say you have a web application that allows users to sign up and create an account. However, you want to tailor their experience based on the role they select in a dropdown during signup. So someone who signs up as a "marketer" gets added to the marketing group, and someone who signs up as a "developer" gets added to the developers group.
This is a perfect use case for a post-confirmation trigger.
🗒️ If wanting to just see the full solution, you can find the complete code on GitHub.
Understanding the Post-Confirmation Trigger
Amazon Cognito comes with the ability to be alerted when certain events occur in the user lifecycle. To be alerted, you assign a trigger to the specific event you care about. This trigger is simply a Lambda function.
Cognito comes with several triggers, but honestly, the one I use the most is the post-confirmation trigger which is triggered when a user is confirmed after a user is fully created with email/password signup.
🗒️ If using social signup (Google, Facebook, etc.), the post-confirmation trigger is not triggered since authorization is handled by the social provider. Reach out if you'd like to learn more about how to handle this.
The Solution
🗒️ While this solution uses AWS Amplify for as the infrastructure-as-code tool, the same logic and concepts can be applied to any AWS integration.
Let's break down the solution into a few steps:
- Setting up Amazon Cognito
- Configuring the post-confirmation trigger
- Integrating the frontend with the backend
Setting up Amazon Cognito
Due to AWS Amplify being tailored for fullstack development, running npm create amplify will scaffold a backend with both data (AWS AppSync and DynamoDB) and auth (Amazon Cognito). While the data category isn't relevant to this post, I've found the auth category to be surprisingly flexible.
The following is all that's needed to setup Cognito with a user pool, identity pool, Cognito groups, email/password signup, along with standard and custom attributes:
export const auth = defineAuth({
  loginWith: {
    email: true,
  },
  groups: ['founder', 'developer', 'designer', 'marketer'],
  userAttributes: {
    fullname: {
      required: true,
    },
    'custom:categoryName': {
      dataType: 'String',
      mutable: true,
    },
  },
})
Configuring the post-confirmation trigger
Setting up the post-confirmation trigger is a two-step process:
- Create the Lambda function
- Configure the Cognito to use the Lambda function as the post-confirmation trigger
Creating the Lambda function is straightforward. I created a new file called resource.ts inside the amplify/functions/addUserToGroup directory. Note that the directory structure isn't important and just Amplify's convention.
In the resource.ts file, I added the following code:
import { defineFunction } from '@aws-amplify/backend'

export const addUserToGroup = defineFunction({
  name: 'add-user-to-group',
  resourceGroupName: 'auth',
  entry: './main.ts',
})
This is all that's needed to create the Lambda function. The entry points to the main.ts file, which is where the function logic will be added. The resourceGroupName simply says, "Deploy this Lambda function in the auth resource group." which is nice to avoid circular dependencies.
Next, I added the following code to the main.ts file:
import type { PostConfirmationTriggerHandler } from 'aws-lambda'
import {
  CognitoIdentityProviderClient,
  AdminAddUserToGroupCommand,
} from '@aws-sdk/client-cognito-identity-provider'

const client = new CognitoIdentityProviderClient()

export const handler: PostConfirmationTriggerHandler = async (event) => {
  const groupName = event.request.userAttributes['custom:categoryName']
  const command = new AdminAddUserToGroupCommand({
    GroupName: groupName,
    Username: event.userName,
    UserPoolId: event.userPoolId,
  })

  await client.send(command)
  return event
}
This is the actual logic for the Lambda function. It uses the @aws-sdk/client-cognito-identity-provider package from the AWS SDK to add the user to the group.
When I first started developing with AWS, this was the "aha" moment in how powerful Lambda functions are. They're not just for API endpoints.
Because this function is going to be triggered by Cognito (specifically after a user is confirmed), it's important to note that the event object is not the same as the event object in an API, but instead contains properties relating to the newly confirmed user.
The event.request.userAttributes contains the attributes that were added to the user. In this case, I'm looking for the custom:categoryName attribute.
With the function created, I head back to the amplify/auth/resource.ts file and add the following code to the auth resource:
// Previous code...
	userAttributes: {
		fullname: {
			required: true,
		},
		'custom:categoryName': {
			dataType: 'String',
			mutable: true,
		},
	},
  // New code...
	triggers: {
		postConfirmation: addUserToGroup,
	},
	access: (allow) => [allow.resource(addUserToGroup).to(['addUserToGroup'])],
Without that code, we'll have a Lambda function that is deployed but never called.
The triggers property is where we tell Cognito when to use our Lambda function.
The access property is where we permit our Lambda function to call the addUserToGroup function from Cognito.
With that, we're all set up to add a user to a group when they sign up once we add our Lambda function to our backend stack of resources. In the amplify/backend/resource.ts file, we'll add the following code:
defineBackend({
  auth,
  addUserToGroup,
})
🗒️ To deploy the backend, run
npx ampx sandbox.
Integrating the frontend with the backend
Our project is scaffolded with Vite (React), along with React Router and uses DaisyUI for styling.
Additionally, it's using the @aws-amplify/ui-react package to give us a production-ready signup component.
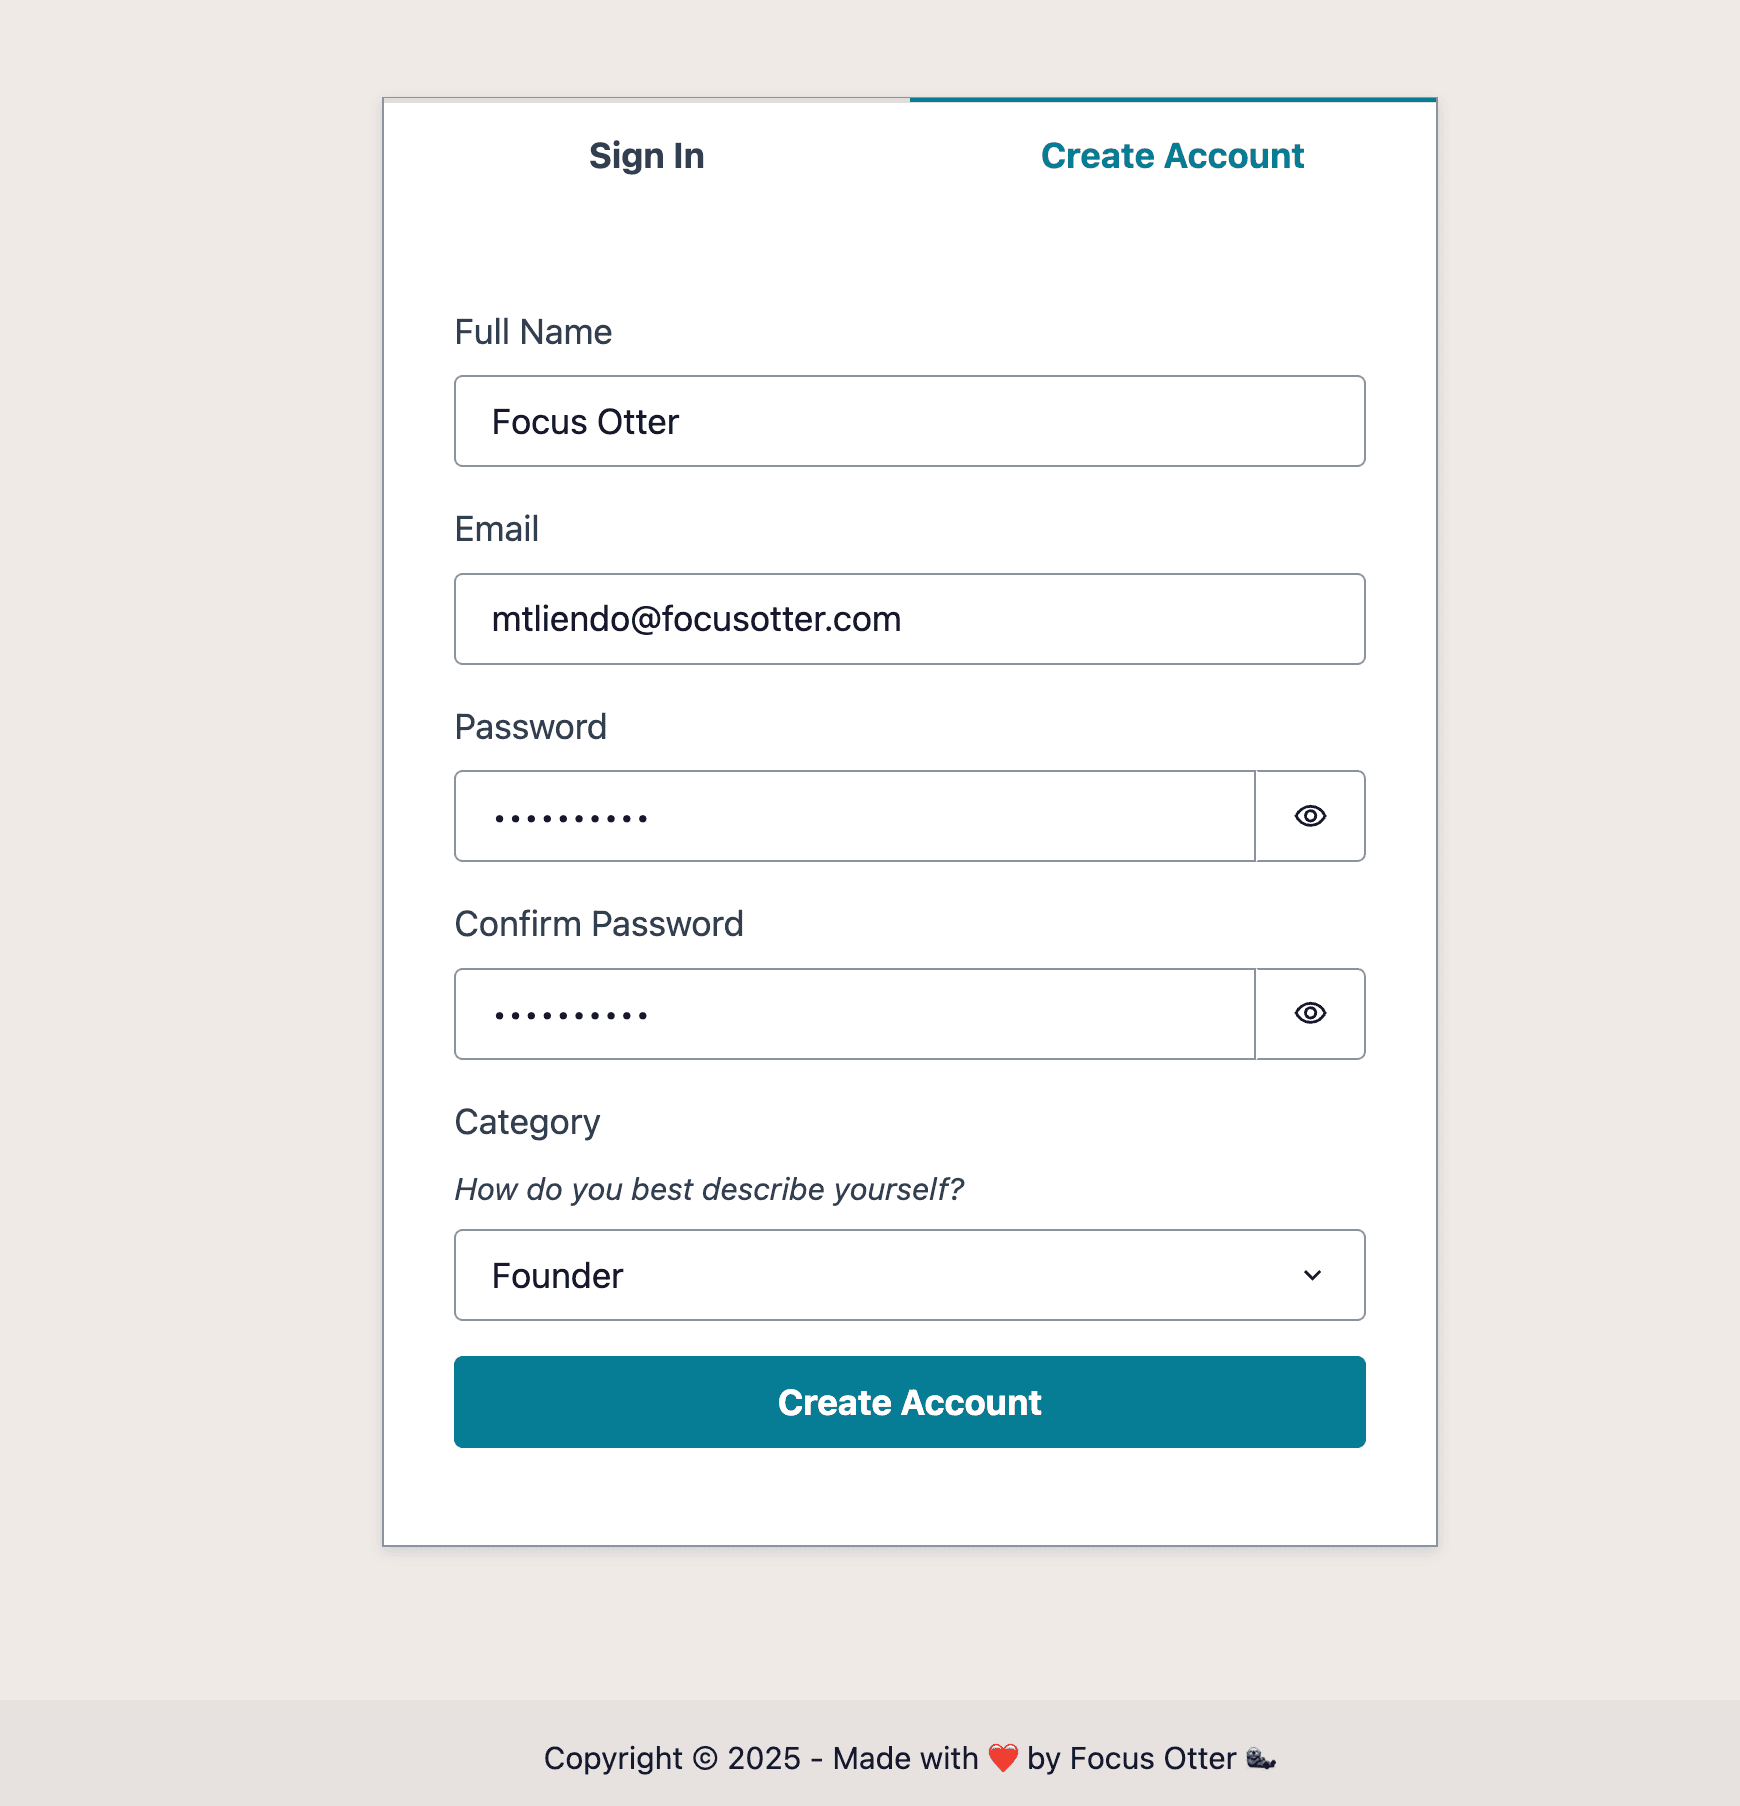
While the routing and auth config is handled in the App.tsx file, the star of the show is actually the Protect.tsx file.
Here I wrap the Authenticator component and provide a custom SignUp component that has a Full Name field listed at the top, and a Category field listed at the bottom. Notice in the select field, I'm using the custom:categoryName attribute. This is how the connection is made between what the user selects and the attribute that will be used to add the user to the group.
<Authenticator
  className="bg-base-200 flex h-screen flex-col items-center justify-center"
  formFields={formFields}
  components={{
    SignUp: {
      FormFields() {
        return (
          <>
            <Authenticator.SignUp.FormFields /> // Existing form fields
            <SelectField
              label="Category"
              name="custom:categoryName"
              descriptiveText="How do you best describe yourself?"
              required
            >
              <option value="founder">Founder</option>
              <option value="developer">Developer</option>
              <option value="designer">Designer</option>
              <option value="marketer">Marketer</option>
            </SelectField>
          </>
        )
      },
    },
  }}
>
  {children}
</Authenticator>
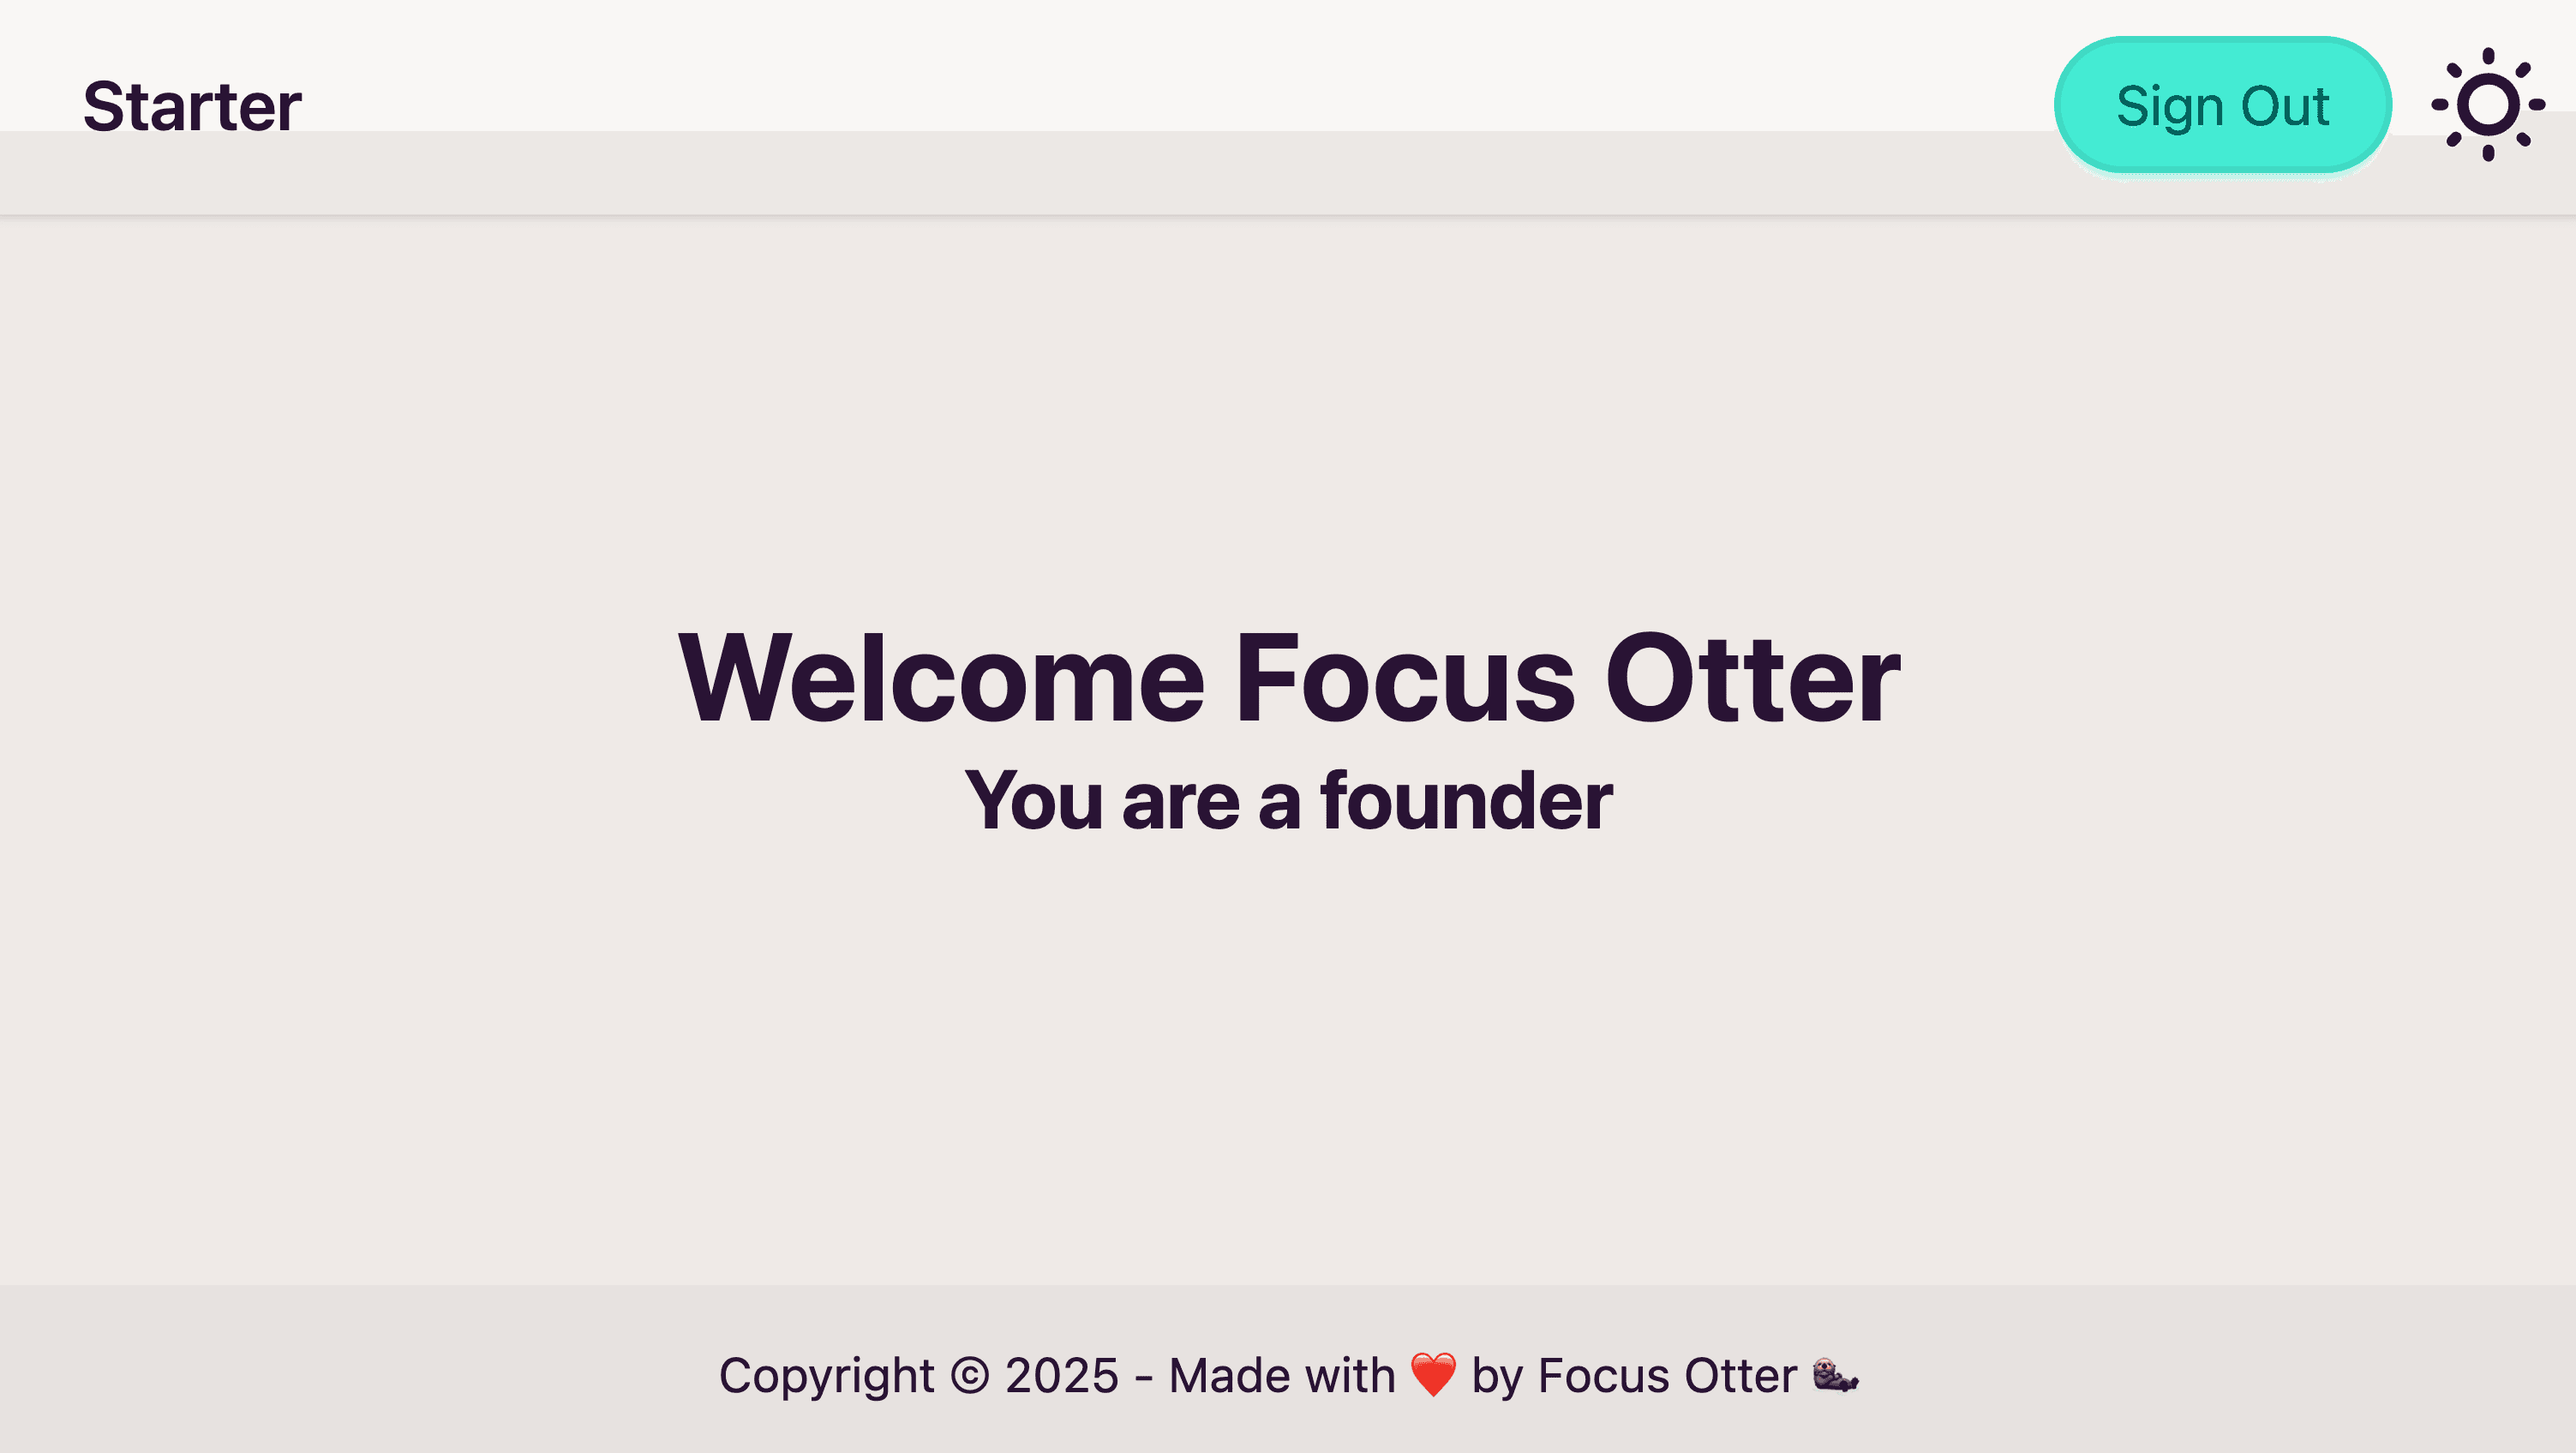
We now have all the pieces in place to have a working solution. To verify, the /secondary route is protected and requires authentication. Once a user signs up we'll display their full name and category.
To accomplish this, we'll fetch the current user session using the fetchAuthSession function from Amplify. With this, we can get the full sign in details including the user's full name and category.
import { fetchAuthSession } from 'aws-amplify/auth'
import { useEffect, useState } from 'react'
export function SecondaryPage() {
  const [userGroup, setUserGroup] = useState('')
  const [username, setUsername] = useState('')

  useEffect(() => {
    fetchAuthSession().then(({ tokens }) => {
      const idTokenPayload = tokens?.idToken?.payload
      console.log(idTokenPayload)
      const groups = idTokenPayload?.['cognito:groups'] as string[]
      if (groups) {
        setUserGroup(groups[0])
      }
      const name = idTokenPayload?.['name'] as string
      if (name) {
        setUsername(name)
      }
    })
  }, [])

  return (
    <div className="bg-base-200 flex h-screen flex-col items-center justify-center">
      <h1 className="text-4xl font-bold">Welcome {username}</h1>
      <p className="text-2xl font-bold">You are a {userGroup}</p>
    </div>
  )
}
🗒️ There is a
useAuthenticatorhook that can be used to get the current user and sign them out, but the most you can get is the user's login ID (email).
Conclusion
In this post, we learned how to add a user to a Cognito group with a post-confirmation trigger. By automating this process during signup, we can allow users to have a tailored experience based on the group they are in.
A core concept here is understanding that Lambda functions are not just for API endpoints. They can be used for any event-driven logic.
I hope you enjoyed this post. If you have any questions, please reach out on X or LinkedIn.
Also consider joining my newsletter where I share posts/videos you might've missed as well as things that caught my eye in the community! 🦦